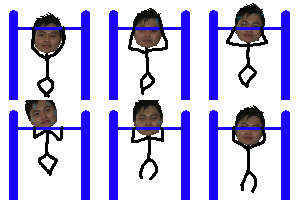
Alright. Here's a short tutorial on how to create GIF using GIMP.
Basically, the reason why I using GIMP instead of Photoshop is because GIMP is open-source! Meaning it's free! Go down to http://www.gimp.org/ to grab it if you wanna give it a try. Personally, I still think Photoshop is better, but GIMP is free and I'm using it in my office. Pirate-free... Anyway, I believe Photoshop is able to do the same too. The general steps should be the same.
Begin by running GIMP.
Upon opening GIMP, you will have 2 windows appear. One is the toolbar window, another is the layout window. Take a look at the toolbar window first.
This toolbar is more or less similar to Photoshop. You got the normal cutting tools, brushes, colour palette, etc etc available on this window. Alright? Click File -> New to create a new file to work on.
Choose a size that you are work with comfortably. My favourite is either 450x450 or 500x500. I like working with a square frame.
Another option to take note is the "Fill with:". I usually choose Transparency, so that my GIF will work with any background colour.
Now, take a look at the layer window.
Click on the new layer button(circled in red) to create a new layer.
For the options for the new layer, just leave it as it is will do. Again, take note of the Fill Type.
Basically for each animation frame of your GIF, you will need to create a layer for it. 1 layer = 1 frame. The ordering of the frames is bottom to top, meaning bottom-most is frame 1, the next up is frame 2, all the way to the top is frame n. Get it? For my tutorial, I created a 3 frames animation. So here, I will need to create 2 new layers, on top of my Background layer.
After creating the new layers, it's time to put in what you want for the frame. My GIF here is a simple animation showing a counting from 1 to 3. So let me begin with my frame 1. Do that by selecting the corresponding layer first in the layer window.
Then click on the picture window and draw a "1" on it.
Now, select frame 2.
Note that you can click on the "eye" icon(circled in red) to hide the layer. It's useless if the other layers are obstructing your current selected frame. Okay, draw a "2" now.
Lastly, select frame 3.
And draw a "3"!!!
Look at my layer window shown below. As I've explained earlier on, the frame sequence is from bottom to top. Naming of the layers are not important, that's why I never bothered with it.
Okay, go back to the picture window.
Click File -> Save As to create your GIF.
Expand the "Select File Type" and select "GIF image". Location and filename are up to you. Once done, click Save and another window will pop out.
The option you must choose here is "Save as Animation". This is the key point hor! I mean, you are trying to do an animation GIF right? Right... Okay, next click Export, and yet another window appears.
This is the last window I promise you. Under the "Animated GIF Options", check all the options available there. Then for the "Frame disposal where unspecified", choose "One frame per layer (replace)". As for the delay per frame, up to you. For my tutorial, I put 1000 milliseconds, which is equivalent to 1 second. DONE! Click Save!!!
And..................
TADA~ There you have it! A animated GIF!
Okay, I'm quite a noob in animated GIF creation actually. This is just one of the simpler (maybe noober) way I found out. Maybe GIMP itself got an even cleverer and easier function or tool just that I don't know. But I'm pretty cool with this method, and I've done all my emoticons using this. XD)
Enjoy making your own GIF!
p/s: on how to resize and the other stuff, figure it out yourself lah ah. it's almost like photoshop...
Friday, October 31, 2008
Making GIF using GIMP
Posted by
Saceal
at
5:11 PM
0
comments
![]()
My Hoot of the Day [Yesterday]

Yeah! Finally bought the controller, after searching around since starting of this week. All thanks to zw and zm, poisoned me to buy the controller...
Damage: 70 bucks
Last night tried using the controller to play Bully. Woot! My movement smooth like my ass now. No more 8 directional movement only, with easy to tap rapidly on the buttons, analog buttons, yeah man! Nothing to complete.
Shopping list 1 down!
Posted by
Saceal
at
9:03 AM
0
comments
![]()
Labels: shopping list
Friday, October 24, 2008
Teaching you how to draw

For me, I prefer to draw from left to right. And my initial model for drawing this was my left hand. So ya, it's a left hand middle finger.
Of course, there's many way to point a middle finger. This is my preferred way - last 2 fingers down, middle finger up, index finger half flag, thumb slightly hidden behind.
So to start off, draw the fingers out as I've stated above.
one small lump -> another lump slightly higher -> middle finger tall tall -> index finger half of middle finger -> thumb with top hidden behind
Next, switch to a smaller brush and add in some details. Grains like the knuckles, and the joints area of the fingers.
And oh! Don't forget about adding in the fingernail for your middle finger. There you have it! Simple isn't it? That drawing above was done in just 1 minute, including creation of the GIF. *show off*
Enjoy!
p/s: maybe i should do a post every morning if i'm free in office...
Posted by
Saceal
at
9:33 AM
1 comments
![]()
Thursday, October 23, 2008
"drawing middle finger" revisited...
I realised the post on "drawing middle finger" on March 2008 draw in 74 visits of my blog's overall visits. The highest among all the posts. Maybe someone is linking it to my blog. Maybe I did really draw very well for it. XD)
So... to further enhance that post. I decided to post some GIFs I did recently.
Version 1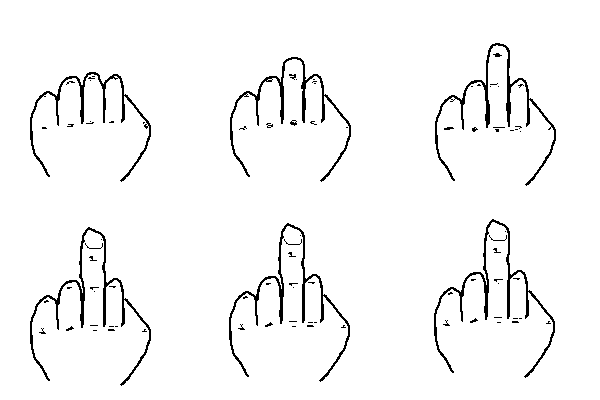
Version 2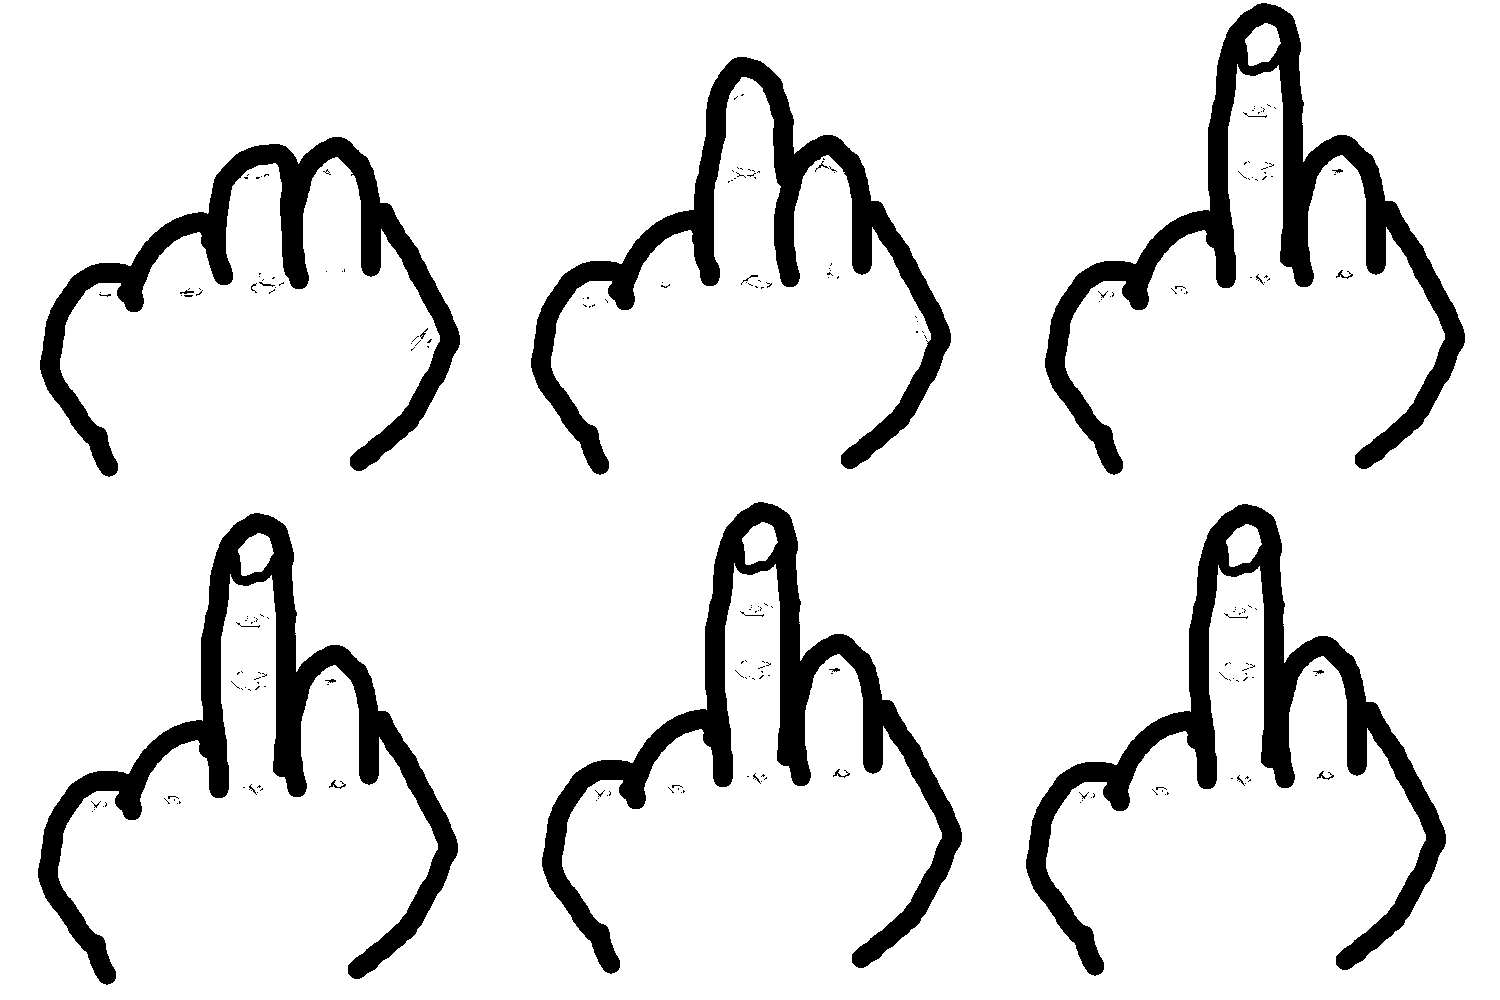
I had to do version 2 because the thickness of the brush used in Version 1 is too thin that it's hardly visible on msn as emoticon. So I had to improve on that. And thus, Version 2!
Since I'm showing off my GIF creations. I might as well show some that I've done for WMW blog, on the recent post one.
Carrot head
Carrot head tio dok!
Okay, that's all I have available on my photobucket. Stay tuned! Next time I'll show step by step on "How to draw middle finger - for dummy!" (no promise)
Posted by
Saceal
at
4:07 PM
11
comments
![]()
Labels: GIF
Sardines...
Seriously... I think I'm easily annoyed by crowds, especially packed like a sardine in bus/train. Unavoidable, but still, don't have to stick so close to me and let me feel your breath on my arm right? Basically, I'm very protective of my personal space bubble. Even if it's cute girls(regardless friends or not friends) who are invading it, I will try to shun away from it. Shy, maybe. But, unless I'm chionging and eating tofu. XD
So, ya... Even how much I hate it, there's almost no way to avoid it when taking our Singapore's World Class Public Transport during peak hours. Every morning I just have to go through it lah ah. Bo pian, be green, save money, hate to drive, so take Mercedes lor.
Despite being so protective of my personal space bubble, I don't really mind if it's a cute girl's bum that's poking me, or a double head missiles having near-collision contact with my face (collide will be better). But if it comes to some auntie whose bag is rubbing my shoulder constantly, flying elbows coming past just a few centimetres away from my eyes. Wowowo! Save me please!
Never mind, I still can tahan all these. I mean, need to be considerate right? They bo pian also, even I myself did them sometimes unintentionally. But try to be wary of the surrounding, ya? I'm trying to do that myself too. So everyone, let's walk together towards a more considerate and caring society!
Wait! That's not my point either. I'm taking damn long trying to convey my message. =\ Hello, uncle bus driver captain? Can you see it's like a pack sardines behind already? Keep asking people to move in is like squeezing sardine juice, instead of packing them already! You waste time asking people to move in, just to take in more people (I know you trying to help those who are trying to board the bus), but that's just time wasting! You take more time to let people board, and you take more time to let people alight. People need to squeeze like hell just to alight the bus, all thanks to your "Hello! Please move to the rear!". And I've seen people unable to alight in time and the bus moves off. End up, the next bus is empty and catches up with the current bus. World Class Public Transport System, good things always come in pairs.
What about the safety regulation? Are you sure the number of standing passengers is within the limit or not? Okay, maybe I'm just nitpicking for this point. =D Maybe I should try to go for the earlier double decker bus. I just need to leave house 5min earlier. Hmmmmm...
Nevertheless, I do have good experience for taking the packed sardines bus before too lah ah *grinning like a tiko peh*. But you must know, good and bad are always bundled together. You just can't have the best of 2 worlds.
Posted by
Saceal
at
8:58 AM
1 comments
![]()
Labels: complain
Wednesday, October 22, 2008
updatez again..
Recently kinda lazy to update my blog..
But!!! I just did a long post over in wmw blog. Do visit there to take a look. A post on the monthly gathering and a carrot head incident.
Also, I've updated the shopping list. Cham... Not earning a lot but I still wanna buy so many stuff.
Oh ya, added a stalker list on the right side too. Join the list ah, so at least I'll still know I have some followers of my blog. =~) Thank you for your support.
Funny, why am I blogging @ work, and not @ home instead... Maybe I should install the Stumbleupon toolbar here...
Maybe if I'm free, I'll do a review on 20th Century Boys (both movie and manga).
Posted by
Saceal
at
10:35 AM
1 comments
![]()
Labels: shopping list, summary


