Alright. Here's a short tutorial on how to create GIF using GIMP.
Basically, the reason why I using GIMP instead of Photoshop is because GIMP is open-source! Meaning it's free! Go down to http://www.gimp.org/ to grab it if you wanna give it a try. Personally, I still think Photoshop is better, but GIMP is free and I'm using it in my office. Pirate-free... Anyway, I believe Photoshop is able to do the same too. The general steps should be the same.
Begin by running GIMP.
Upon opening GIMP, you will have 2 windows appear. One is the toolbar window, another is the layout window. Take a look at the toolbar window first.
This toolbar is more or less similar to Photoshop. You got the normal cutting tools, brushes, colour palette, etc etc available on this window. Alright? Click File -> New to create a new file to work on.
Choose a size that you are work with comfortably. My favourite is either 450x450 or 500x500. I like working with a square frame.
Another option to take note is the "Fill with:". I usually choose Transparency, so that my GIF will work with any background colour.
Now, take a look at the layer window.
Click on the new layer button(circled in red) to create a new layer.
For the options for the new layer, just leave it as it is will do. Again, take note of the Fill Type.
Basically for each animation frame of your GIF, you will need to create a layer for it. 1 layer = 1 frame. The ordering of the frames is bottom to top, meaning bottom-most is frame 1, the next up is frame 2, all the way to the top is frame n. Get it? For my tutorial, I created a 3 frames animation. So here, I will need to create 2 new layers, on top of my Background layer.
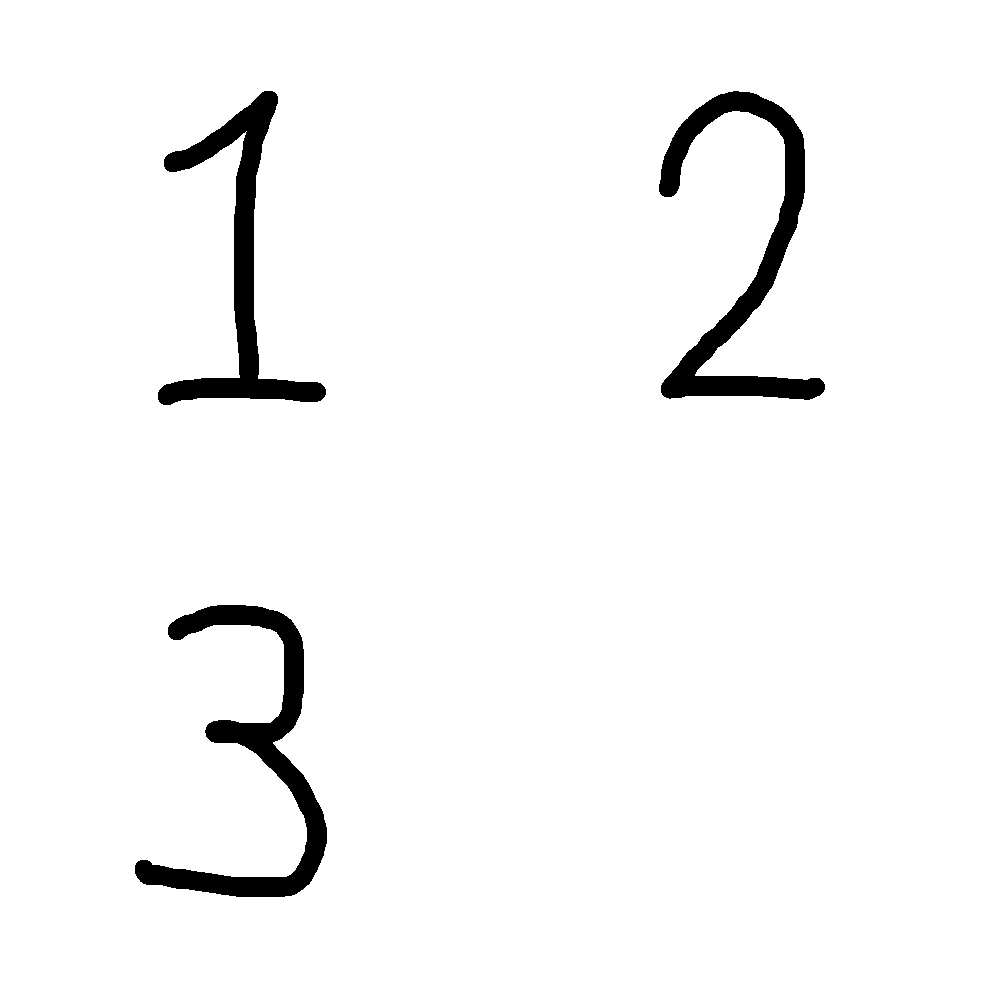
After creating the new layers, it's time to put in what you want for the frame. My GIF here is a simple animation showing a counting from 1 to 3. So let me begin with my frame 1. Do that by selecting the corresponding layer first in the layer window.
Then click on the picture window and draw a "1" on it.
Now, select frame 2.
Note that you can click on the "eye" icon(circled in red) to hide the layer. It's useless if the other layers are obstructing your current selected frame. Okay, draw a "2" now.
Lastly, select frame 3.
And draw a "3"!!!
Look at my layer window shown below. As I've explained earlier on, the frame sequence is from bottom to top. Naming of the layers are not important, that's why I never bothered with it.
Okay, go back to the picture window.
Click File -> Save As to create your GIF.
Expand the "Select File Type" and select "GIF image". Location and filename are up to you. Once done, click Save and another window will pop out.
The option you must choose here is "Save as Animation". This is the key point hor! I mean, you are trying to do an animation GIF right? Right... Okay, next click Export, and yet another window appears.
This is the last window I promise you. Under the "Animated GIF Options", check all the options available there. Then for the "Frame disposal where unspecified", choose "One frame per layer (replace)". As for the delay per frame, up to you. For my tutorial, I put 1000 milliseconds, which is equivalent to 1 second. DONE! Click Save!!!
And..................
TADA~ There you have it! A animated GIF!
Okay, I'm quite a noob in animated GIF creation actually. This is just one of the simpler (maybe noober) way I found out. Maybe GIMP itself got an even cleverer and easier function or tool just that I don't know. But I'm pretty cool with this method, and I've done all my emoticons using this. XD)
Enjoy making your own GIF!
p/s: on how to resize and the other stuff, figure it out yourself lah ah. it's almost like photoshop...
Friday, October 31, 2008
Making GIF using GIMP
Subscribe to:
Post Comments (Atom)


No comments:
Post a Comment